How to Lay a Gravel Driveway: A Step-by-Step Guide
Upgrade to a stunning and resilient gravel driveway with these steps.
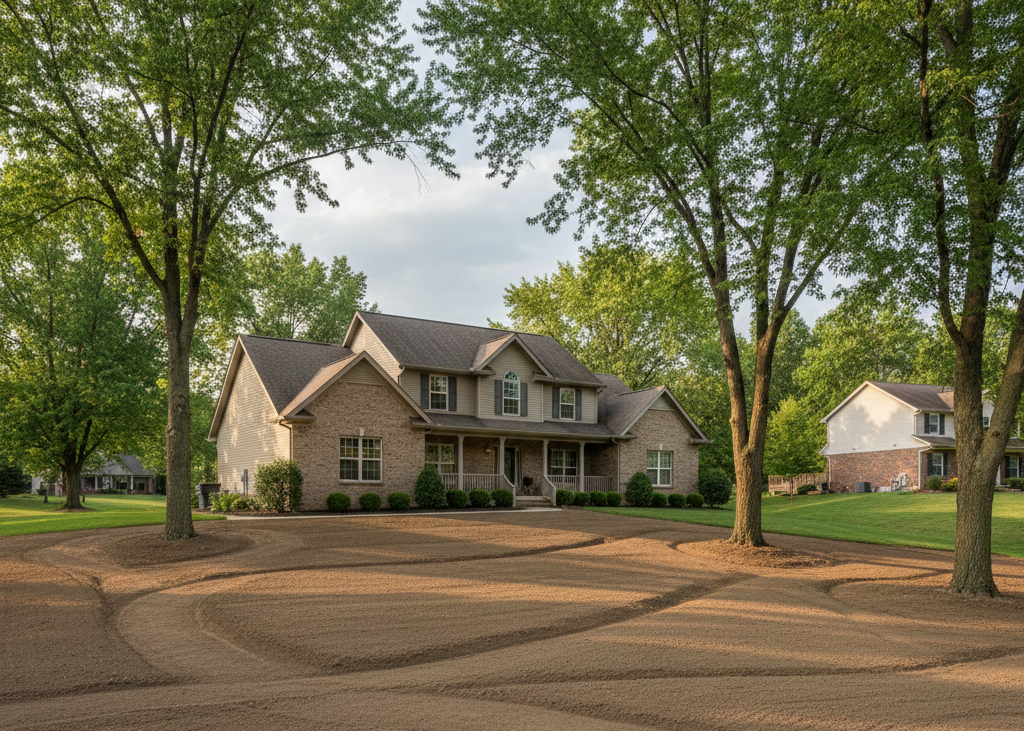
Gravel driveways are not only pleasant to look at, but also provide a cost-effective and practical solution for your property. Unlike concrete or tarmac, gravel driveways facilitate better water drainage, reducing the chance of flooding. In this blog post, we'll guide you through the process of laying a gravel driveway.
Step 1 – Remove the existing base:
The first and crucial step in building a gravel driveway is preparing the base. Remove the existing base to ensure a firm ground underneath, avoiding topsoil. Be cautious of service pipes like water, phone, electric, gas, and sewer. Consider hiring equipment like a digger or bulldozer for larger driveways.
Step 2 – Create a sub-base:
The sub-base is a vital component, providing support for heavy loads and creating a flat, solid surface. Use MOT Type 1, a sub-base consisting of various-sized aggregate pieces that compact together. Keep a minimum depth of 50mm, and use a roller or wacker plate to compact the sub-base. Slope the base away from your house or garage to aid water runoff.
Step 3 – Lay weed membrane:
To keep weeds at bay and maintain the cleanliness of your driveway, lay a heavy-duty weed membrane directly on the sub-base. Use a polypropylene membrane for driveways, rolling it out and pegging it into position.
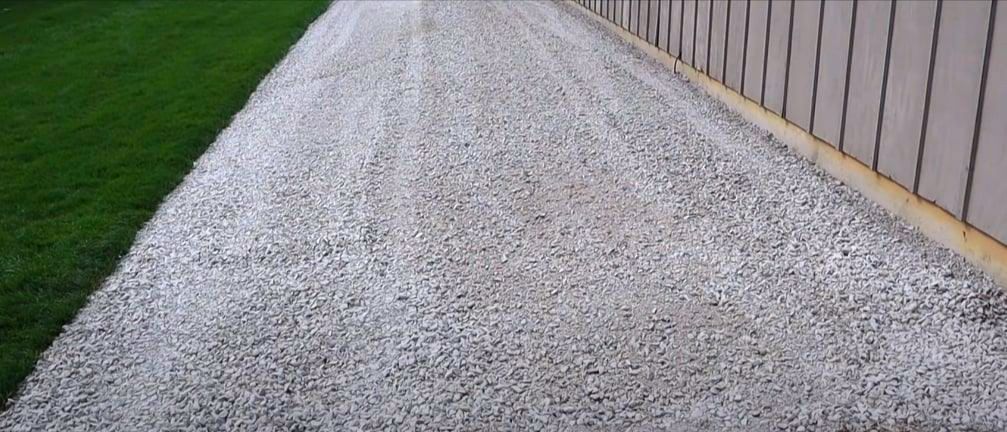
Step 4 – Choose your gravel:
Select a hard-wearing and angular decorative aggregate for your gravel driveway. Choose a 14mm or 20mm gravel chipping for your driveway surface for optimal results. Avoid pebble driveways, as rounded stones may move when driven over. Calculate the required amount of decorative aggregate, considering a bulk bag covering approximately 10m² at a depth of 50mm.
Step 5 – Calculate how much gravel you’ll need:
Accurately measure your driveway area by multiplying the length and width. Use a Gravel Calculator if needed, considering 1 bulk bag covering 10m² at a 50mm depth. Choose durable stones like Granite, Basalt, Quartz, or Flint for a long-lasting and resilient driveway surface.
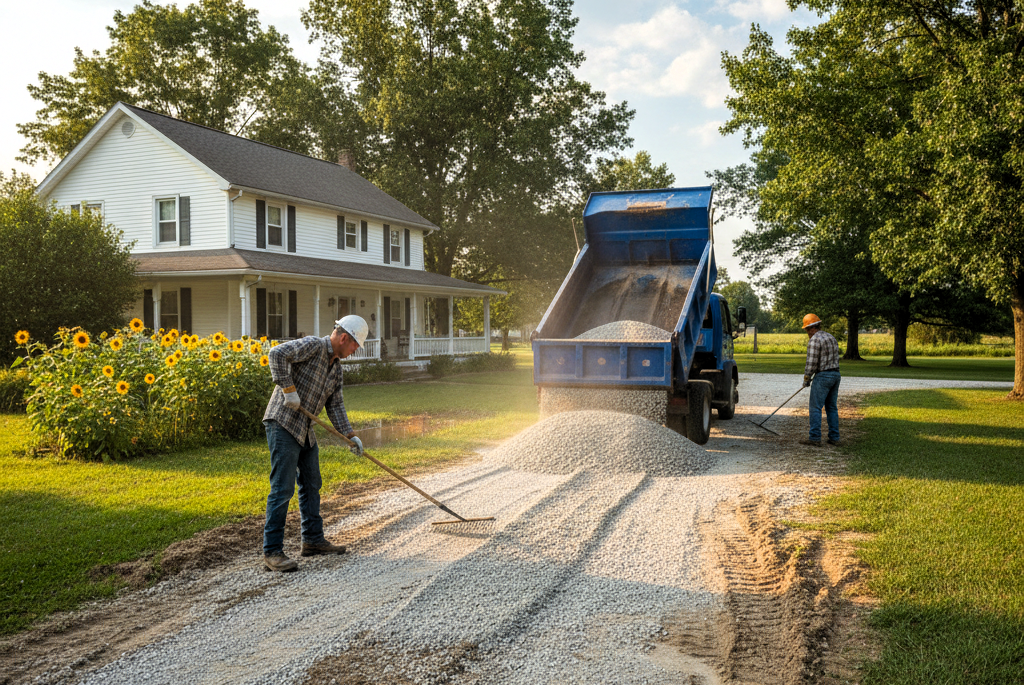
Step 6 – Lay your gravel:
If your area is on a slope, consider installing a gravel grid to minimize movement. Without a grid, tip the gravel onto the base layer and rake it into place. Maintain a depth of around 50mm for the gravel layer. Rinse the gravel once laid to enhance colors and achieve the best finish for your decorative driveway.
Laying a
gravel driveway is a manageable DIY project that enhances the curb appeal of your property while providing a functional and durable surface. Follow our step-by-step method to create an attractive and cost-effective gravel driveway that complements your home.
For those who prefer professional assistance or are considering repairing or resurfacing an existing gravel driveway, look no further.
Call us at Marion Gravel Driveways & Grading, and our experienced driveway contractors will be more than happy to assist. Let us turn your vision into reality, ensuring a stunning and long-lasting gravel driveway for your property. Your new driveway is just a phone call away!
You might also like
Marion Gravel Driveways & Grading Blog