How to Improve the Drainage of Your Gravel Driveway
Essential steps for effective gravel driveway drainage and maintenance
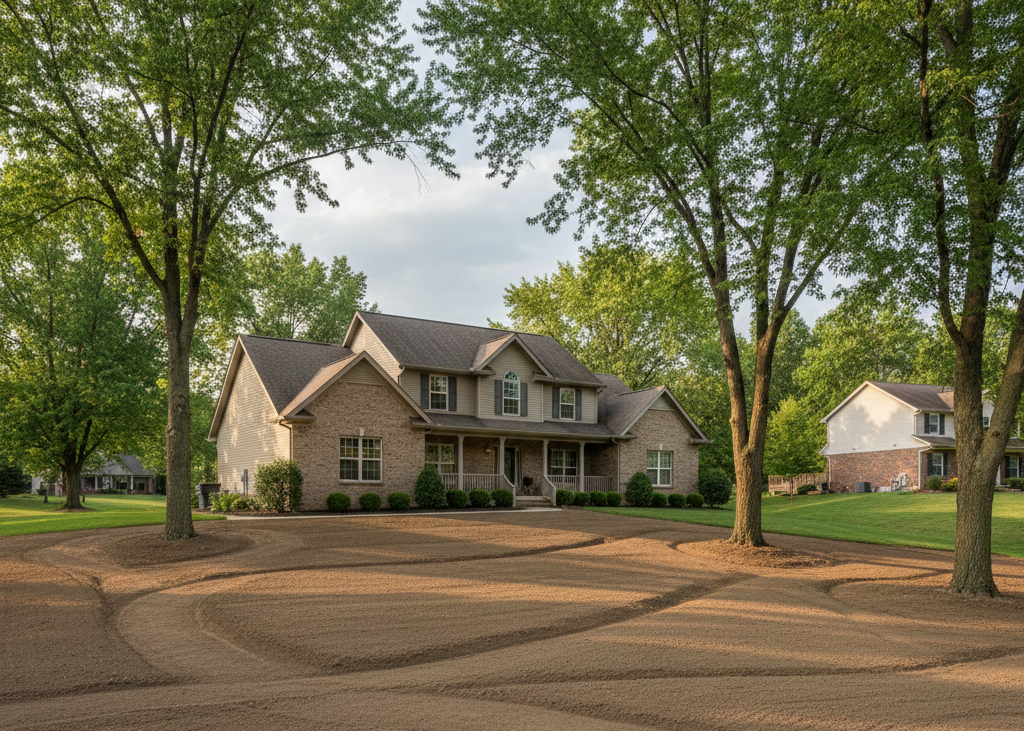
A well-maintained gravel driveway can be both charming and functional, especially with a durable binder for added traction. However, it's crucial to use the right gravel and ensure proper drainage to avoid turning your driveway into a nightmare of erosion, potholes, or flooding. By using the right amount of gravel and focusing on good drainage, you can keep your driveway looking great and working well. This guide is full of handy tips to help you keep your gravel driveway looking great and working well for years. Follow these simple steps to keep your drive smooth and enjoyable!
Materials and Tools Needed
Before you begin the project, gather the following materials and tools:
- Shovel
- Rake
- Wheelbarrow
- Dirt (for levelling)
- Gravel
- Tamping tool
- Level
- Perforated drainage pipes
- Porous pavers
- Landscape fabric (optional)
Step-by-Step Guide to Improving Driveway Drainage
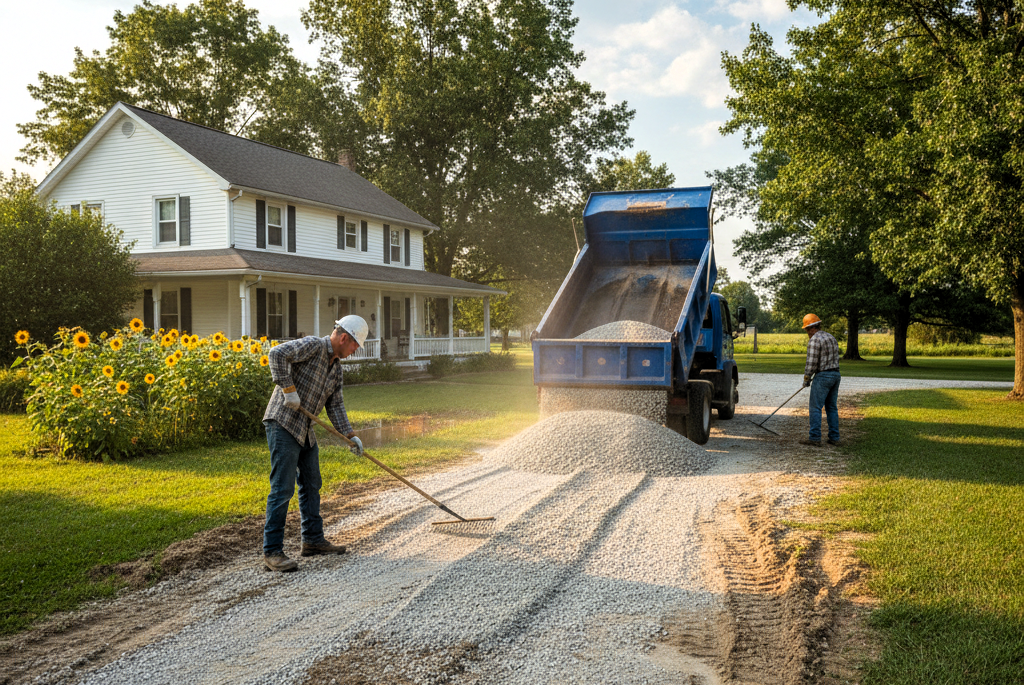
Step 1: Remove Gravel
Whatever type of drainage improvement you choose, you first need to clear off the gravel in your driveway. Start by using a shovel to remove as much gravel as you can, focusing on one area at a time. Place the gravel somewhere accessible – for example, your front yard or right next to where the gravel driveway will begin again, so it's easier to shovel back later. Once you've removed the majority of the gravel, use a rake to clear the last of it until you see the bare underlayer of soil. You should now have a blank canvas to work on your drainage improvement.
Step 2: Create a Crown
Check how flat your driveway is by placing a level across it to see if it's even. If it's not, you'll need to create a crown. To do this, start by scooping dirt into a wheelbarrow and build up a slight bump in the middle of the driveway. This bump should be about 2 inches high for every 10 feet of driveway length. Once you've built up the bump, even out the soil with a shovel and smooth with a rake. Make sure the soil slopes out evenly, taking care that each side is level. Finally, firm down the soil with the back of the rake, and then level the gravel on top. This will ensure that water drains away from the center of the driveway, preventing the formation of puddles or standing water.
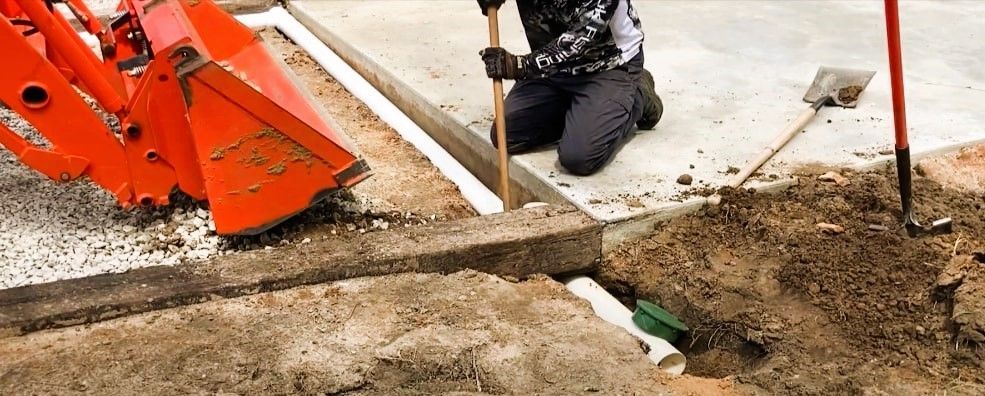
Step 3: Install Drains
If your driveway accumulates standing water, ensure that there's good drainage. You can achieve this by digging shallow trenches along the sides of the driveway and filling them with perforated pipe, which will allow water to drain down and away from the surface. Alternatively, you can use a more elaborate system involving porous pavers, where water passes through the paving stones into a gravel layer underneath. These pavers come in plastic or concrete and are very easy to lay on top of a layer of compacted dirt.
Step 4: Use Porous Pavers
A great way to improve drainage is by using porous pavers, also known as gravel driveway pavers, which aren't too expensive. When water soaks into the pavers, it can pass through the paver into the gravel beneath. To install these pavers, start by preparing the area with a layer of compacted dirt. Then, place the pavers tightly together, ensuring they are level. It's best to use a level to check how flat it is and keep it flat. This will prevent any puddles or standing water on your driveway, even when it rains. Place the level on top of the carefully compacted dirt in a staggered fashion while keeping the pavers tightly together.
Additional Tips for Maintaining Driveway Drainage
- Conduct regular inspections and cleanings of your drains to maintain their optimal functionality.
- Use high-quality gravel with varying sizes to create better drainage and stability.
- If you install gravel over mulch, use landscape fabric underneath to reduce weeds and prevent drainage issues. The fabric acts as a barrier, keeping weed seeds from growing through the gravel. This maintains your driveway's aesthetic appeal and ensures proper drainage, preventing puddles. Avoid parking heavy vehicles on high spots or poorly drained areas to avoid damage.
- If you live somewhere with high rainfall, consider constructing additional drains or channels on the sides of your driveway to prevent flooding.
Improving the drainage of your gravel driveway can help prevent headaches like erosion and potholes, making it look and work better overall. A well-draining driveway not only looks more attractive but also lasts longer. Follow these steps and
maintain them regularly, and you'll have a durable, beautiful driveway. Plan and implement these improvements for a well-draining, lasting driveway for years to come!
What is the Best Drainage Solution for a Gravel Driveway?
Finding the perfect drainage solution for a gravel driveway isn’t one-size-fits-all. The right choice depends on factors like location, climate, and the driveway's size, slope, and look. Whether you need to raise the center to create a crown, install perforated pipes or porous pavers along the edges, or lay down landscape fabric to keep weeds at bay, the decision is yours. It’s wise to consult with a professional or do some research to choose wisely.
At Marion Gravel Driveways & Grading, we get how crucial proper drainage is for your gravel driveway. We offer comprehensive services to boost and maintain your driveway’s drainage. Whether it's installation or ongoing maintenance, our team of experts is ready to help.
Reach out to us today for guidance and support with all your gravel driveway needs. Remember, a well-draining gravel driveway not only lasts longer but also looks fantastic!
You might also like
Marion Gravel Driveways & Grading Blog